There are times when a potential customer that could bring your Shopify store value and money leaves your store with disappointment instead. I am talking about the times when your customer’s favorite product is out of stock. Since you are not the only store that sells that specific item, you probably lose your customers to your competitors before you even notice.
What I am going to ask you now is to think like a customer in the same situation for some moments. Imagine you are exploring a store and you find a product attractive and you attempt to purchase it. However, that product is not available anymore. How do you feel? Disappointed. What will you do? You will leave the store to search for a similar product elsewhere. How can the store owner stop you from this? By giving you an alternative option. Right?
Now in our new scenario, the product is still unavailable but you see the “Notify me when available” button on the product page. As a customer how does it make you feel? “Very thoughtful of this store to provide this option. They seem trustworthy and I will probably subscribe to their back-in-stock waiting list and wait for them to restock so I can finish my purchase.”
That is exactly how you want your customers to think of you: Thoughtful, trustworthy, and worth waiting for.
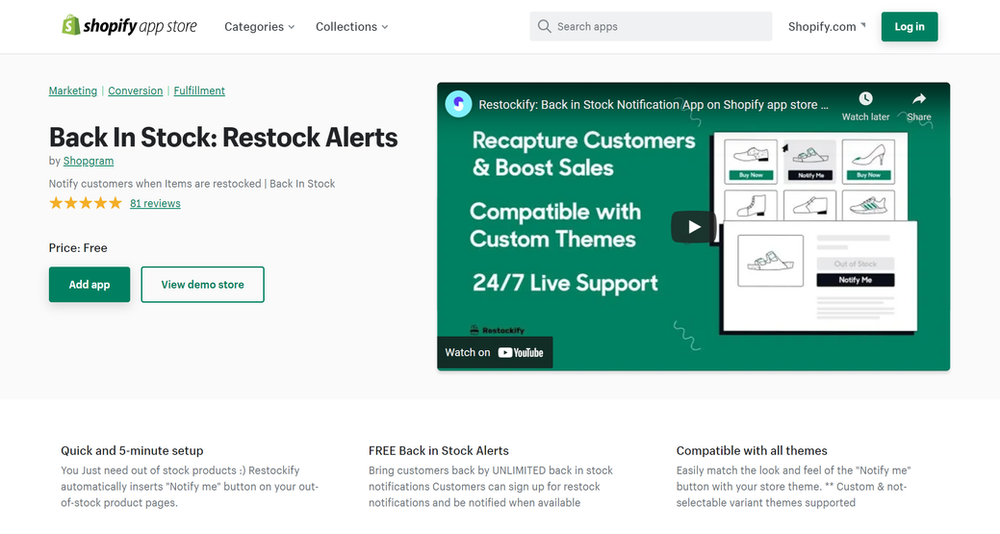
Shopify does not offer such an option on the platform by default but there are many third-party apps out there that do. By installing one of the back-in-stock Shopify apps on your store, you can simply add the “Notify me when available” button to all your out-of-stock products and save your customers.

Now the plan is to introduce some of the best back-in-stock apps for Shopify to you and tell you how you can have this option on your store in different ways. So keep reading.
1. How to install back in stock for Shopify with Notify me! Back in stock alerts (Free Shopify App)

One of the most popular back-in-stock Shopify apps that we are going to learn about in this article is Notify me! Back in Stock|PreOrder. Using this app, you will be able to add a “notify me” button to your out-of-stock product pages and create a waiting list for any unavailable product in your store. Emails and push notifications will then be sent automatically to all the people who subscribe to your waiting list so you can be sure that your potential customers are aware of their favorite product being back in stock.
Since the look of the shop is always a priority to the shop owners, it is important for the “notify me” button to be customizable. Notify Me gives you this option so you can have a new button that matches your overall store look.
The app’s installation is easy as well. You simply go to the Shopify app store and add the app to your shop. After that, things are totally configurable about the app. When you install the app, the “notify me” button will be automatically inserted on your out-of-stock product pages based on your Shopify theme and the style of your buttons.
In case of any problem, you can message their support team which is always there to help you make the best out of their app.
The setup is real simple, once you install the app, the button and automation is automatically added after your approval. All the customizations are there too!
The good news is, the app has a free forever plan for smaller stores, here are a couple thing you can do with this back in stock Shopify app:
- Create Shopify waitlists for your products
- Choose notification channels from Email, SMS and push notifications
- Complete integration with other popular marketing Shopify tools
- Choose to hide button on some of the out of stock products
- Send back in stock reminder notifications to increase conversion on your Shopify store
- And so much more
Here's a quick video going over how it works too:
2. How to install back in stock for Shopify (Free) (Discountinued)

NOTE: This app has been discontinued and is not on the Shopify app store anymore.
Maybe you have a new business and for your current customer numbers, a free app will do. So if you want the “notify me” button to appear on your product page for free, Notify Me is a good option for you.
Using this app you will be able to send back in stock notifications and emails to your almost lost customers and bring them back to your store. Also, you can keep track of your most popular products: the ones more people want to get notified about when they’re restocked.
Compared to the Notify Me, this app provides more free options and is suitable if you are new to the whole thing.
This app can also be found on the Shopify app store and be added to your shop with a click. The dashboard is easy to work with and the “notify me” button will automatically be added to your out-of-stock products. In case you have any questions about this back-in-stock Shopify app, you can contact their support team. They are always there for you.
3. How to install back in stock for Shopify using Klaviyo

Now let’s learn how to install back in stock for Shopify with Klaviyo. Unlike the two other apps we introduced, adding a “notify me” button using Klavio requires some coding and may be more complicated and less customizable.
To begin, your Shopify account and your Klaviyo account must be open at the same time. In your Shopify account, you should head over to your store and click on the edit code option from the actions menu. After that, you should go to your theme.liquid file and scroll down to the bottom.
Then you need to find the necessary code from Klaviyo’s help article on the back in stock feature, copy the code and paste it into your theme.liquid file before the final body tag.
After it’s done, you need to click on save and when you refresh your product page, the notify me button must be there.
4. Install Back in Stock with Shopify contact forms (free)
For sure you can add a back-in-stock notification form to your product page without an app but it is up to you to decide if it is worth all the hard work or not.
Here I am going to show you how to install back-in-stock with Shopify contact forms just in case.
1. From your Shopify admin, go to Online Store > Themes.
2. Find the theme you want to edit, and then click Actions > Edit code.
3. In the Sections directory, click product-template.liquid.
4. Find the opening HTML <form> tag. It will look similar to this:
<form action="/cart/add" method="post" enctype="multipart/form-data">
Wrap the opening <form> tag in conditional Liquid tags, so that on a new line above it is {% if product.available %}, and on a new line below it is {% endif %}. Your code should look like this:
{% if product.available %}<form action="/cart/add" method="post" enctype="multipart/form-data">{% endif %}
5. Find the closing HTML </form> tag. Wrap it in conditional Liquid tags, so that on a new line above it is {% if product.available %}, and on a new line below it is {% endif %}. Your code should look like this:
{% if product.available %}form>{% endif %}n
6. Find the product title in the code by looking for {{ product.title }}. On a new line below the line of code that contains the product title, paste the following code:
{% unless product.available %}n<div id="sold-out">n {% form 'contact' %}n {% if form.posted_successfully? %}n <p>Thanks! We will notify you when this product becomes available!p>n {% else %}n <p>Click <a id="notify-me" href="#"><strong>herestrong>a> to be notified by email when {{ product.title }} becomes available.p>n {% endif %}n {% if form.errors %}n <div>n <p>Please provide a valid email address.p>n div>n {% endif %}n {% unless form.posted_successfully? %}n <div id="notify-me-wrapper" style="display:none">n {% if customer %}n <input type="hidden" name="contact[email]" value="{{ customer.email }}" />n {% else %}n <input style="float:left; width:180px;" required="required" type="email" name="contact[email]" placeholder="your@email.com" value="{{ contact.fields.email }}" />n {% endif %}n <input type="hidden" name="contact[body]" value="Please notify me when {{ product.title | escape }} becomes available." />n <input style="float:left; margin-left:5px;" type="submit" value="Send" />n div>n {% endunless %}n {% endform %}ndiv>n{% endunless %}
You can experiment with placing the code in different areas of the file to have the notification form displayed in a different position on the product page.
7. Click Save.
8. In the Assets directory, click theme.js or theme.js.liquid.
9. At the very bottom of the file, paste the following code:
jQuery('#notify-me').click(function() {njQuery('#notify-me-wrapper').fadeIn();nreturn false;n} );
10. Click Save.
5. Install Back in Stock with other Shopify apps

Just like any other Shopify service, back-in-stock notifications are offered by many more Shopify apps out there. However, it will be time-consuming and confusing to try all those apps and come up with a practical one. But in case you want to take a look at other options, here is the Shopify app store page with all the back-in-stock notification Shopify apps available: click here.
1. Does Shopify have a built-in "Back in Stock" alert?
No, Shopify does not include a native back-in-stock notification feature by default. To add this functionality, you must either use a third-party app from the Shopify App Store, use a marketing platform like Klaviyo, or manually edit your theme’s liquid code.
2. Will these apps slow down my store’s loading speed?
Most modern Shopify apps are optimized to load asynchronously, meaning they shouldn't significantly impact your page speed. However, using a lightweight app like Notify Me! or a direct integration with your existing email provider (like Klaviyo) is generally the most efficient way to maintain performance.
3. Can I customize the "Notify Me" button to match my brand?
Yes. Most third-party apps allow you to change the button color, text, and placement to ensure it blends seamlessly with your store’s design. If you choose the manual coding method, you will need to use CSS to style the form yourself.
4. Is it better to use an app or a manual contact form?
Using an app is highly recommended because it automates the process. An app will automatically email the customer the second your inventory levels increase. With a manual contact form, you receive an email and have to remember to manually contact the customer when the item is back, which is difficult to scale.
5. Can I send notifications via SMS instead of just email?
Yes, many top-tier apps (including the premium versions of Notify Me!) offer SMS and push notification options. This often has a higher conversion rate than email since customers see the alert instantly on their phones.


